Annotations
Drawing Lines, Arrows and Text Bubbles
GlarAssist annotations enable any session participant to simultaneously draw and write annotations on the live image in Augmented Reality mode or 2D mode.
The annotations are available in multiple formats, so they can be used in different environments or according to different assistance needs.
2D and Augmented Reality (AR) annotations
GlarAssist has two modes to create annotations: Augmented Reality Mode and 2D mode:
1. Augmented Reality (AR) annotations
Augmented Reality (AR) annotations are virtual informations that are contextualized with the real world environment (i.e., annotation doesn’t move from the object when you move the camera). To enable Augmented Reality (AR) annotations, the device needs to have ARCore technology on Android or ARKit technology on iOS device.
To know if your annotations are in AR mode, it is quite simple. If you create annotations and these annotations stay in the same place for unlimited amount of time and doesn’t move frrom the object when you move the camera, then your device has the technology to create AR annotations.
2. 2D annotations
2D annotations are ponctual and non contextualized annotations. If your device does not have the AR technologies, the annotations will automatically change to 2D. This means that when you create your annotations these will stay for a couple of seconds before they disappear.
3. Annotations in SmartGlasses
Annotations in smart glasses will always be in 2D mode and after a couple of seconds the annotations will disappear.
How to write annotations?
Drawing Lines: To be able to draw lines you should click in the brush, select one of the different color choices you have and then drag your mouse/finger on the screen.
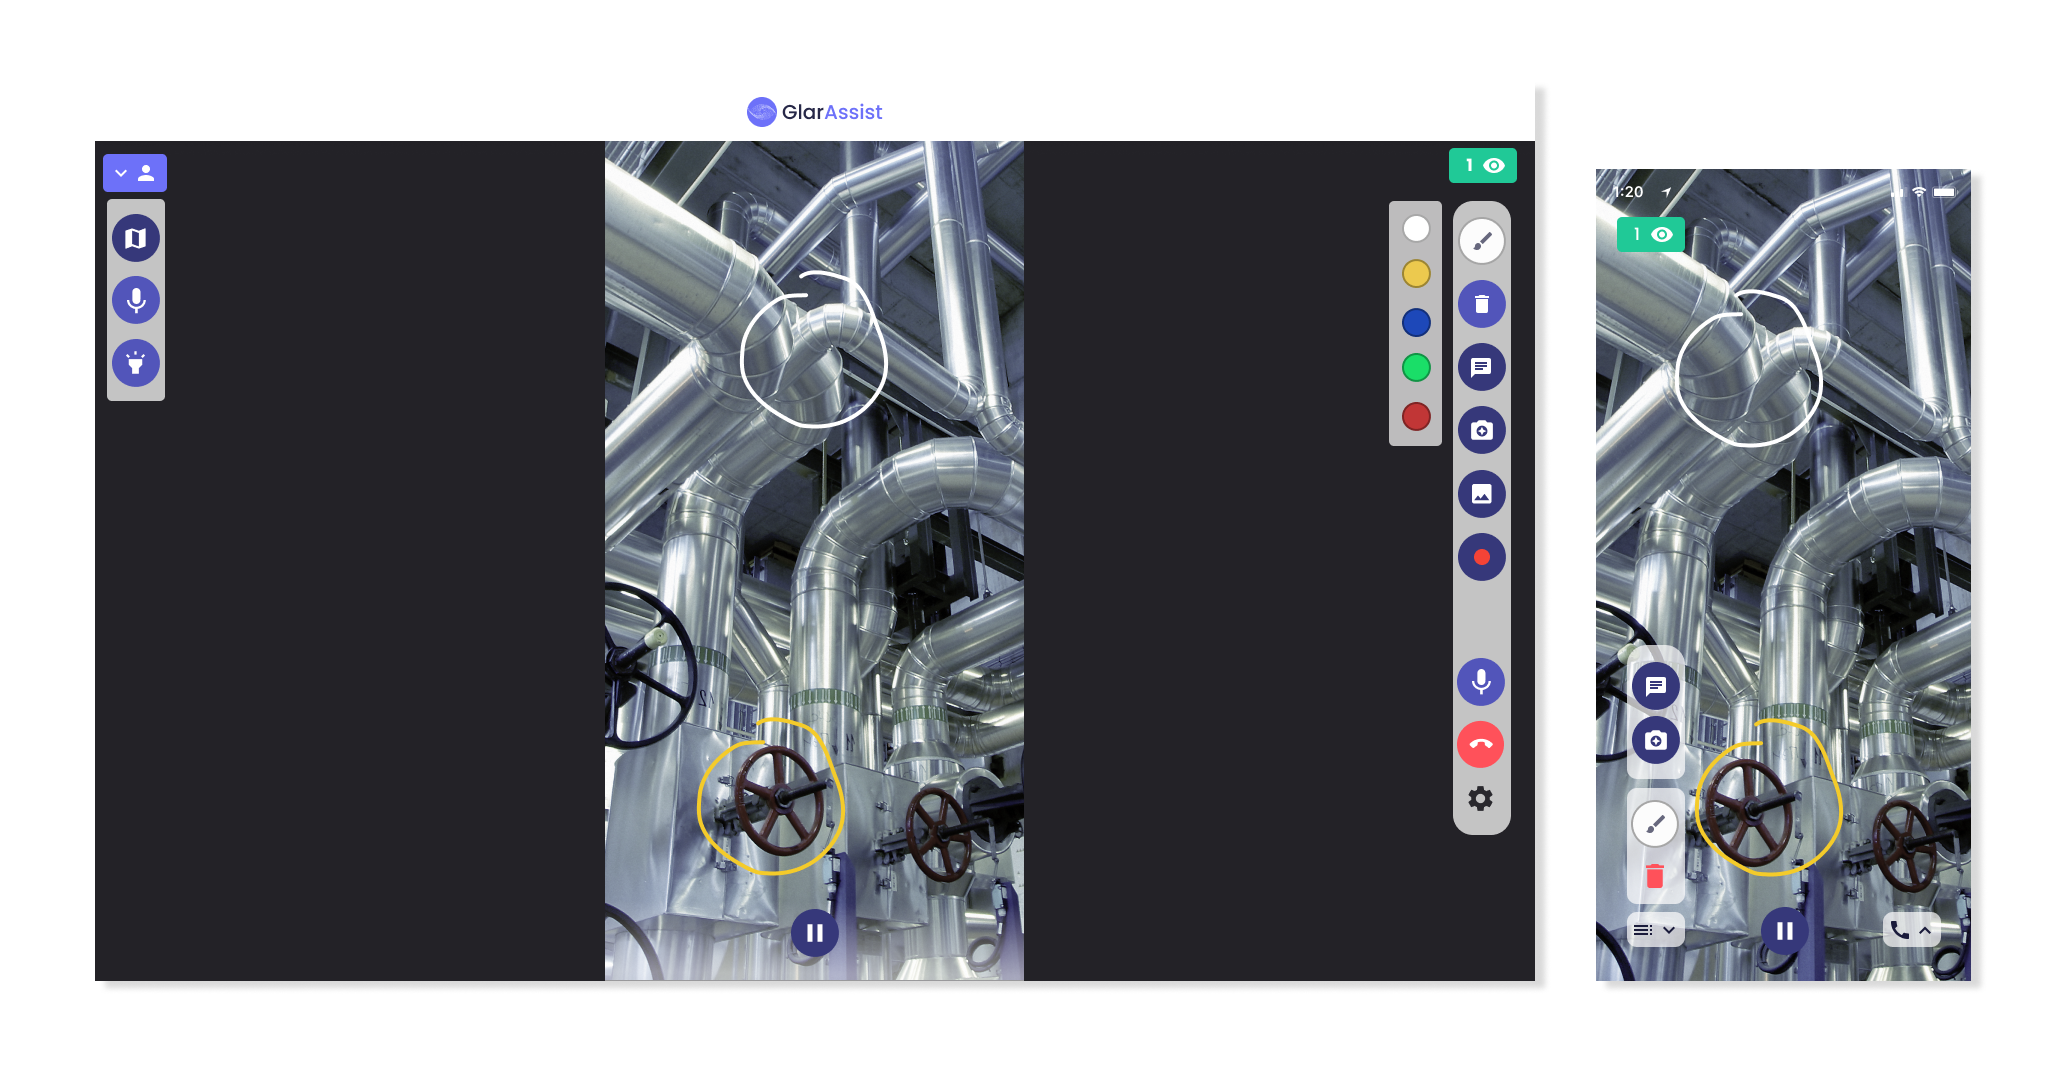
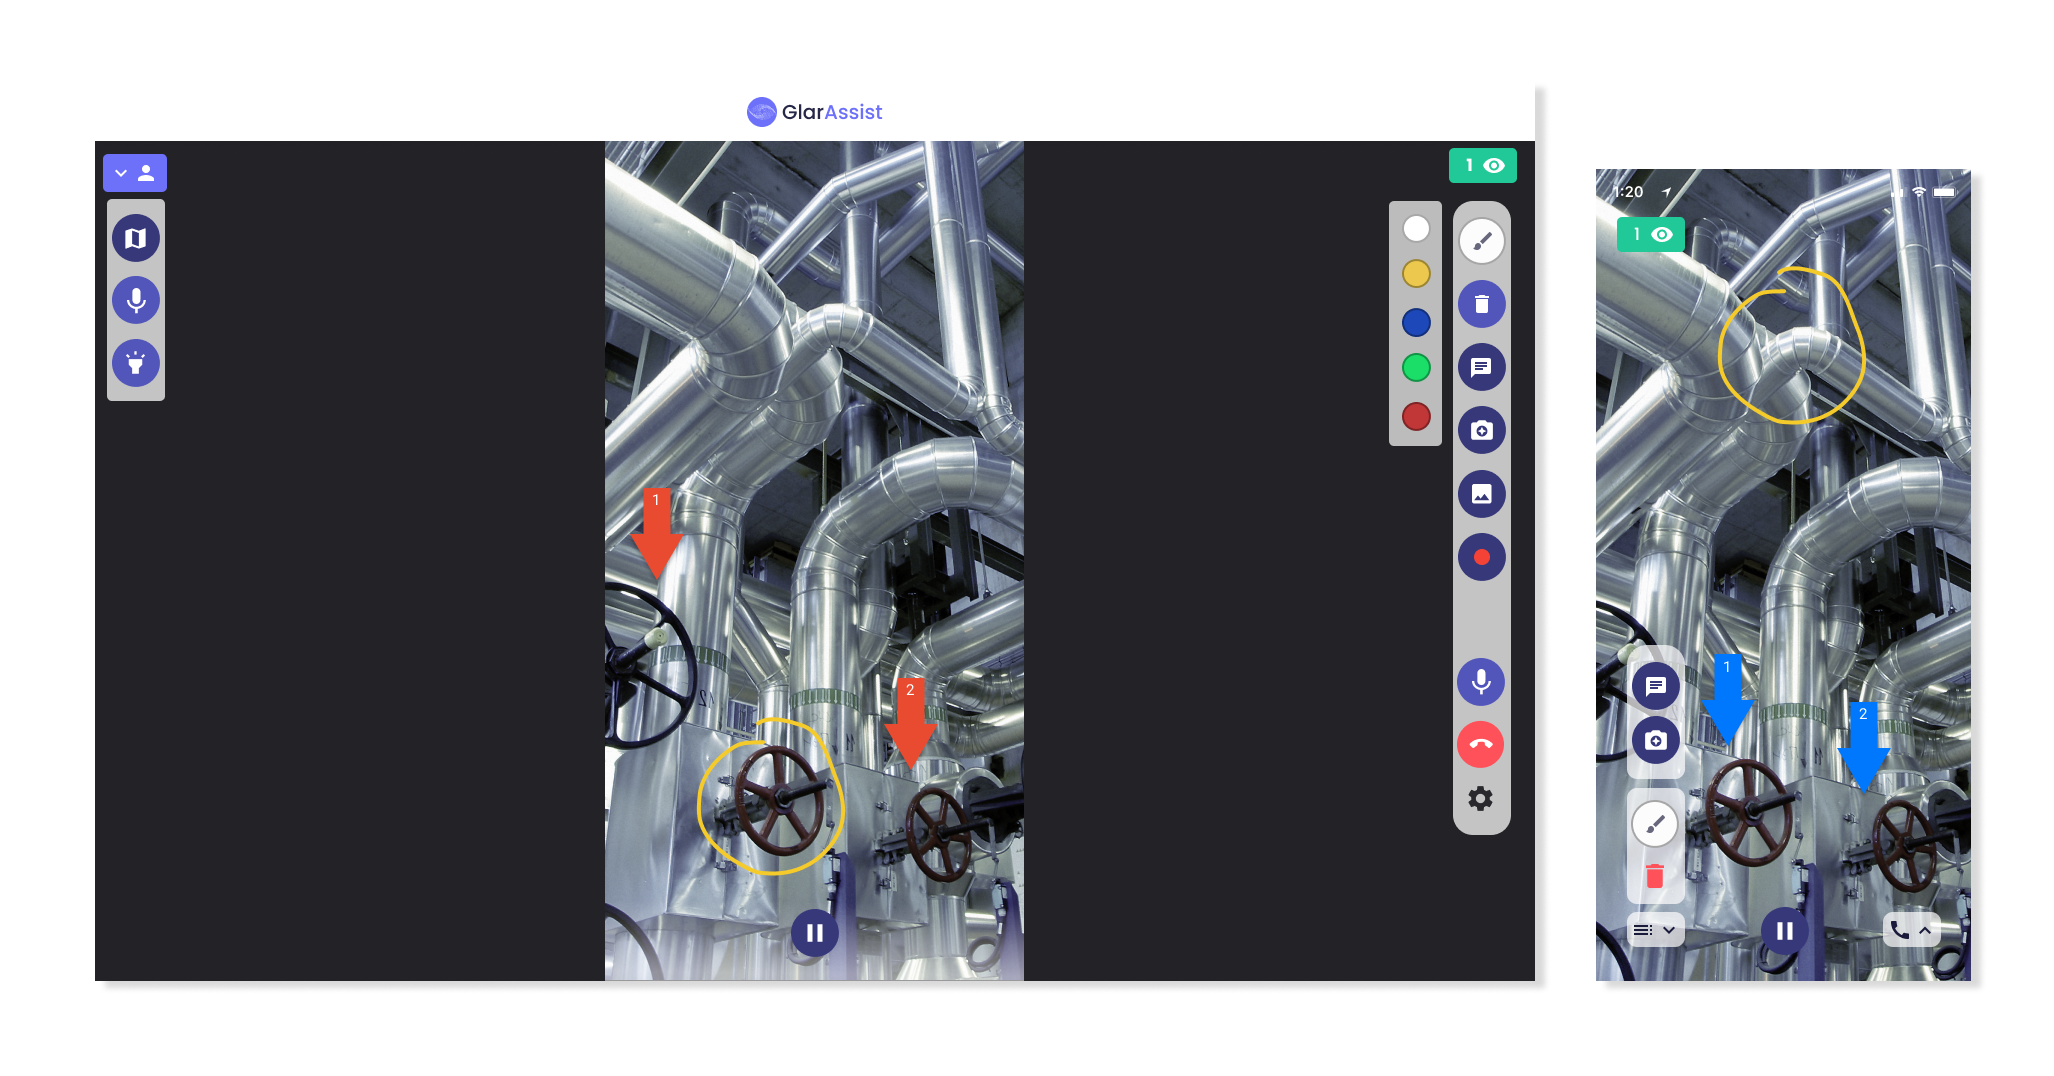
Arrows: To create arrows you should select the color you wish your arrows to have by clicking in the brush icon. After selecting the color just click/tap the screen where you want your arrow to appear.
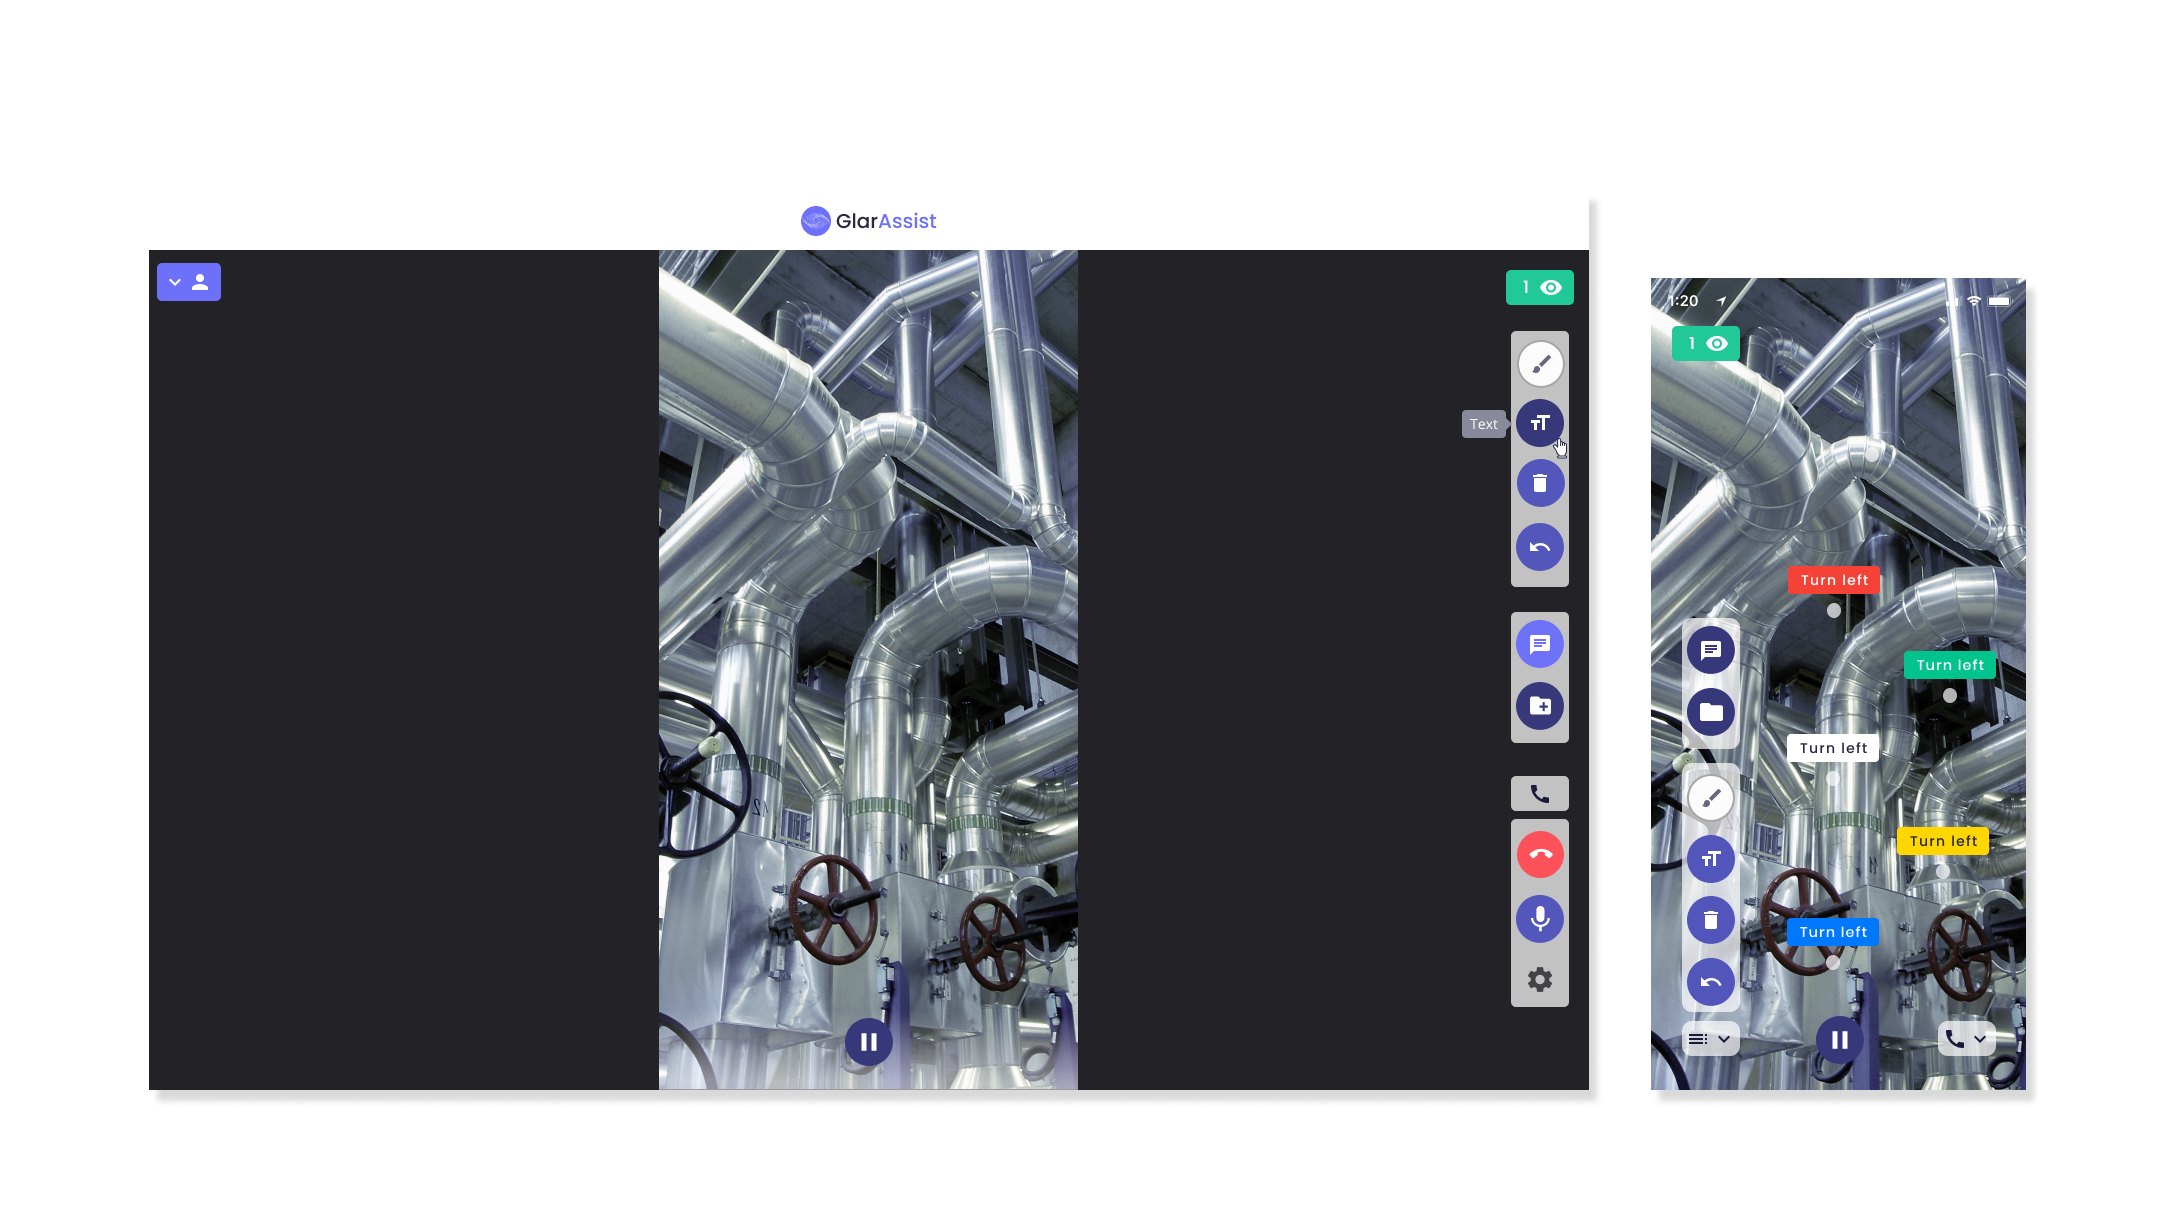
Text bubbles: To create text bubbles, click in the purple “TT” icon. After you select this icon, the icon will change its color to white, meaning you have selected this feature. Then select the place where you want to insert the text box. A text box will appear, and you should write inside the white box the text you want your text bubble to have. Finish by clicking in “confirm”.
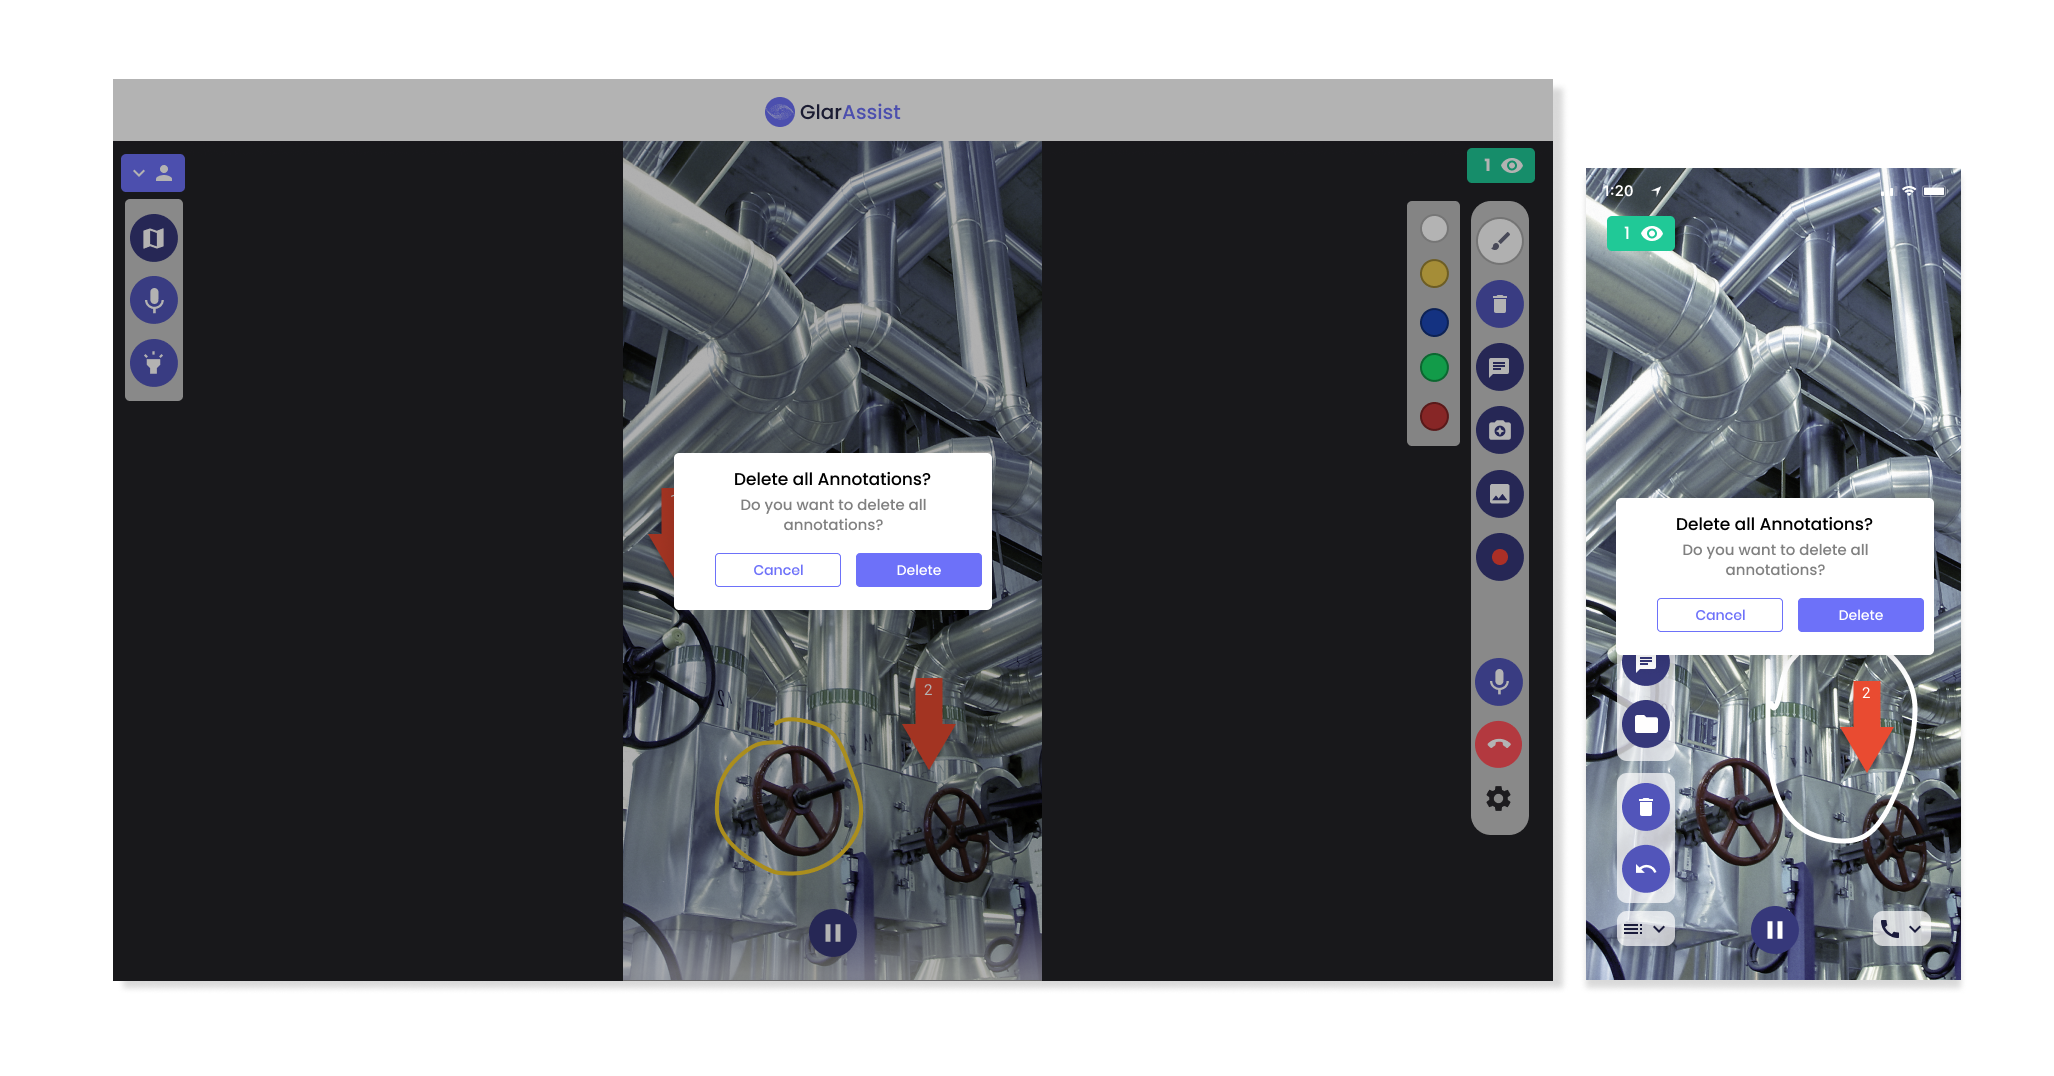
Undo: To delete all your annotations, click in the trash bin icon. You will need to confirm you want to delete the annotations by clicking in the "delete" button.
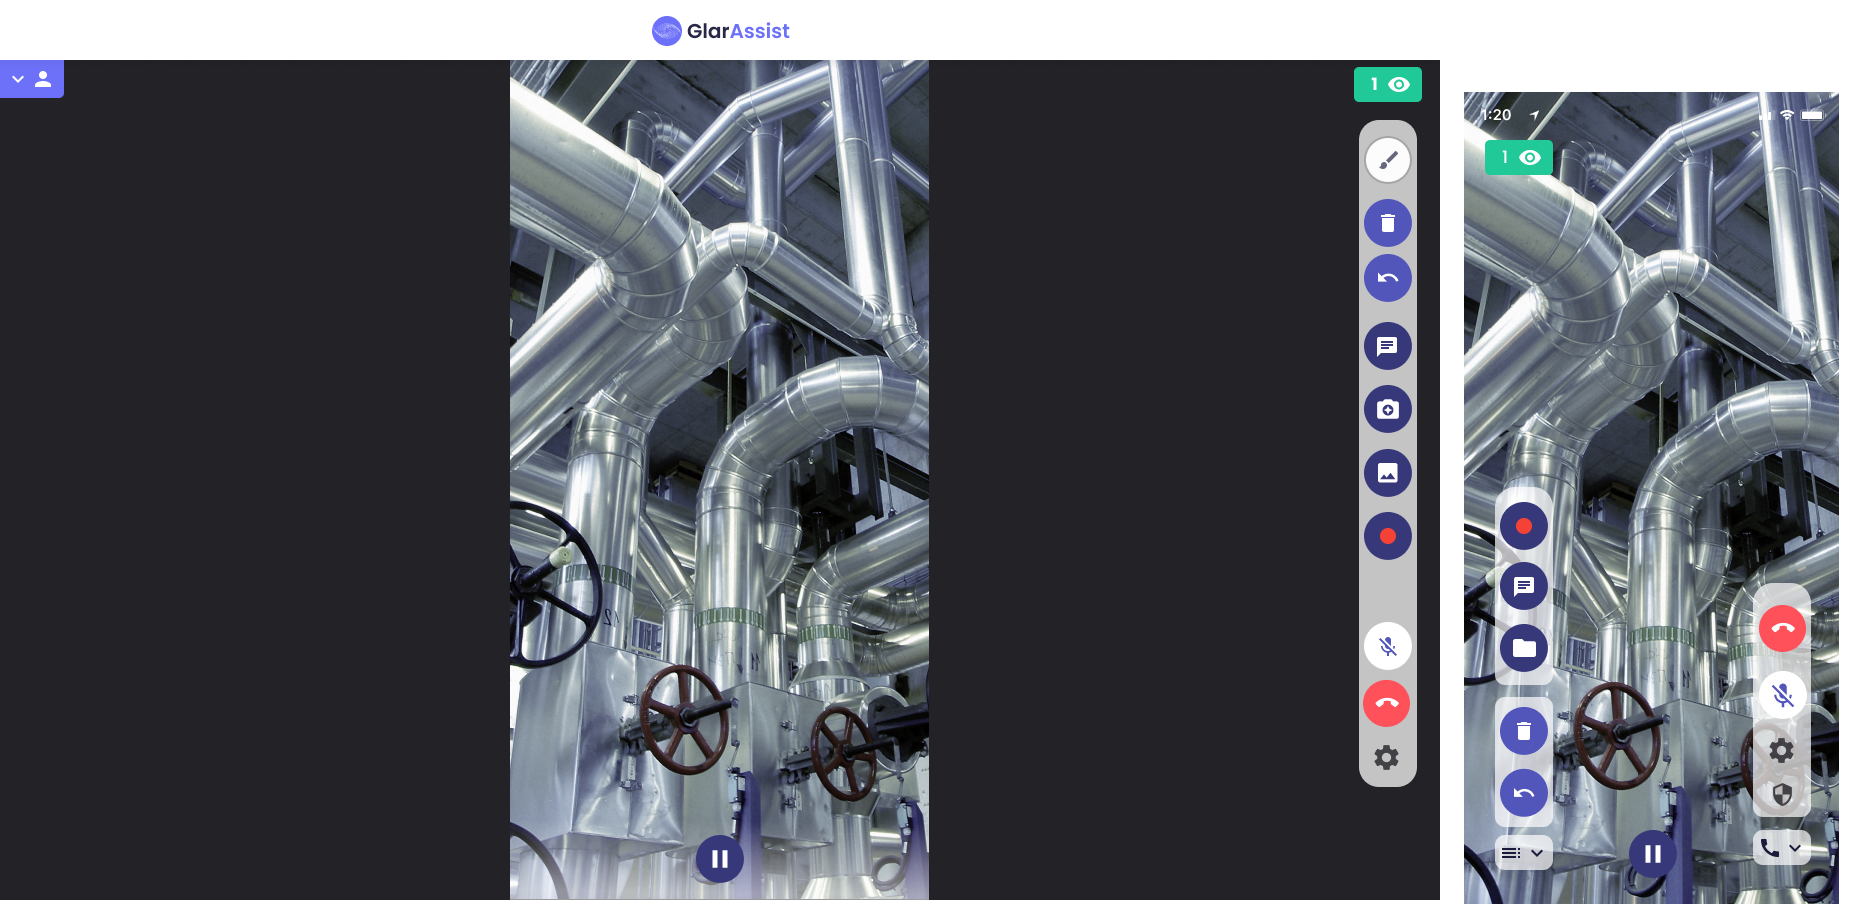
Deleting Annotations: To delete all your annotations, click in the trash bin icon. You will need to confirm you want to delete the annotations by clicking in the "delete" button.
How to know which annotations I am using?
As stated before, there are two options on how to write annotations: 2D and Augmented Reality (AR) annotations. GlarAssist enables any user to choose between both annotations' types.
While on a GlarAssist session, on the top right or left screen of your device, there is a green icon that indicates which annotations type you are using.

The 2D icon is as presented above. For 2D annotations, more adequate for low connexion environments, or environments in whit the AR mapping is not being done.

For AR annotations, more adequate for assistance in which annotations precision is crucial.
For more information on annotations, please submit a ticket, or send an email to [email protected]