Response Options Guide
Generic response options
Response options are used to create tasks in processes. It is important to choose the response option of a task well because it will help that task to be performed in the best way.
Therefore, it is important to understand how each type of question option works, what type of question option is accepted and what its advanced settings are.
For each use case, there will be particularities that will be mentioned in the respective articles. However, the general definition applies to all cases.
1. Text
The "text" option allows free data entry by the user. The field must be configured with a name and description (optional).

The gear icon (settings) defines advanced settings for:
- Character Limit: Maximum number of characters defines the minimum or maximum amount of letters and numbers that text can have.
- Content validation: defines rules for text content.
There are “Contains” and “Does Not Contain” options for mandatory content and for disallowed content anywhere in the text. The options “Start with” and “End with” define the mandatory content at the beginning and end of the text, respectively.
Note:
- Advanced settings are mutually exclusive.
- The three dots icon allows you to duplicate or delete the field.
- The “Required” checkbox sets the field as mandatory.
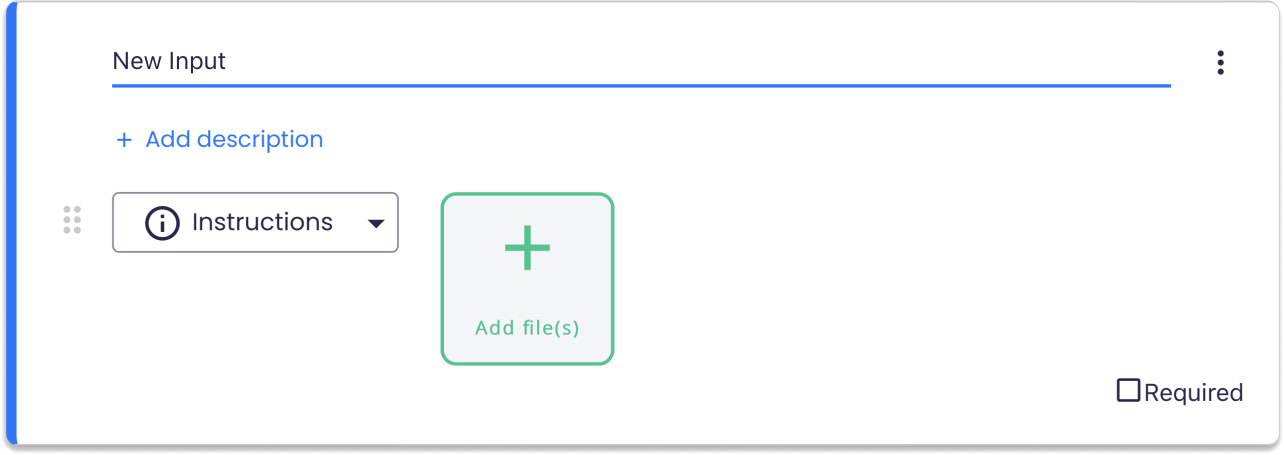
2. Instructions
The "instructions" option allows you to add files with specific instructions. To do so, simply click "Add File" and select the desired file.
After uploading the files you can drag and drop them to reorganize their order. The file order number appears in the bottom right corner of the file.
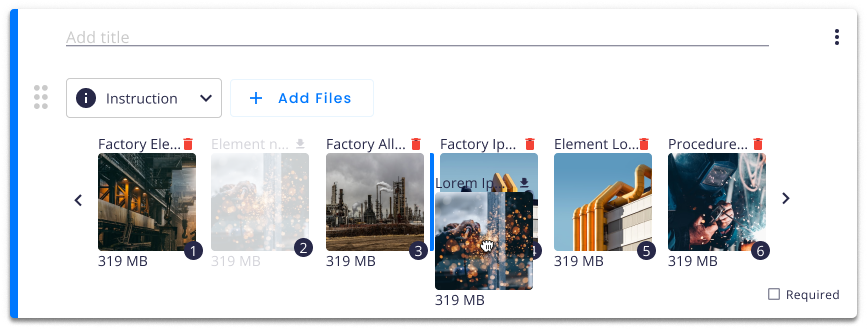
During execution, they will appear in the same order as in the template.
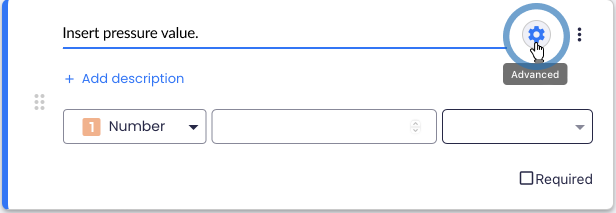
3. Number
The "number" option allows entering numbers in the user response field. The field must be configured with a name and description (optional). In addition, it is possible to define the engineering unit, defined in the unit's model.

The gear icon (settings) defines advanced settings for:
- Character Limit: Maximum number of characters defines the minimum or maximum amount of numbers that the field can have.
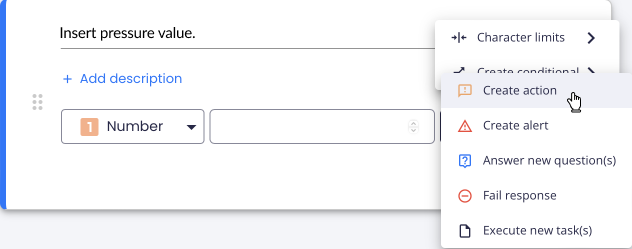
- Conditional Option: You can redirect to a new question, action, alert or even fail the question by defining parameters to the number inserted (between, more than, less than, equal to, less or equal, more or equal). To do that, just click on advanced definitions.
Then select the option "Create Conditional".
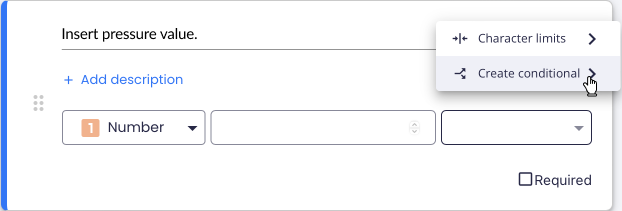
Then, choose the condition you want, for example "Create Action".
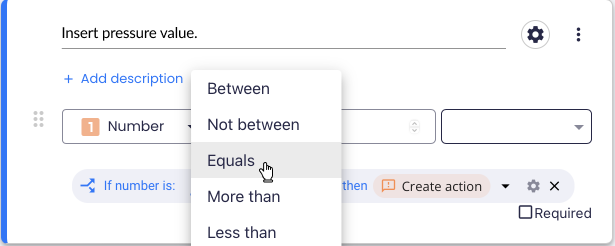
Then choose the parameters you want for that condition.
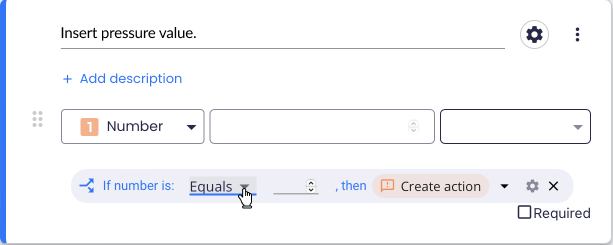
Select the parameter you want to define and insert it.
4. Multiple
The "multiple" field allows you to enter a question with multiple options.
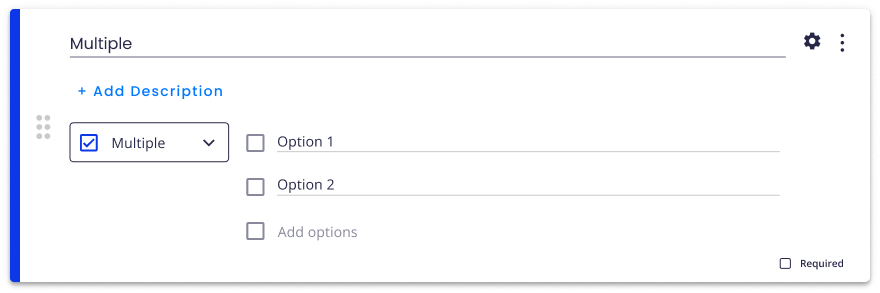
The gear icon (settings) allows you to configure advanced settings for:
- Answer Limit: Maximum number of answers that can be selected.
5. Files
The "files" option allows to request the insertion of files of different formats during execution, such as photos, videos, and text files. The field must be configured with a name and description (optional).

6. Selection
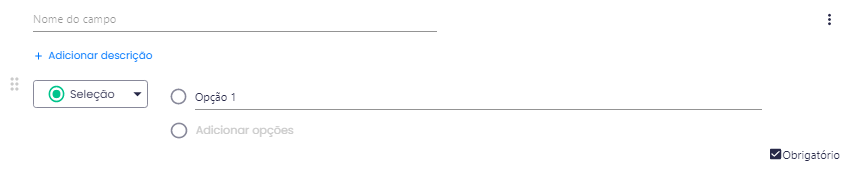
The "selection" option allows the selection of an option. The field must be configured with a name and description (optional).
The three dots icon allows you to duplicate or delete the field.
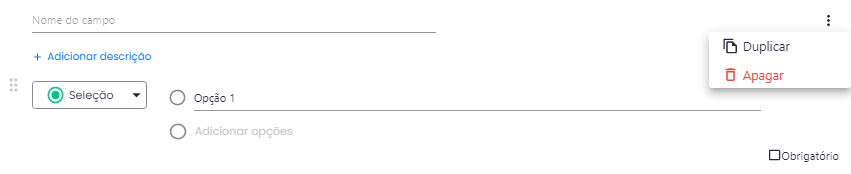
Finally, the “Required” checkbox sets the field as mandatory.
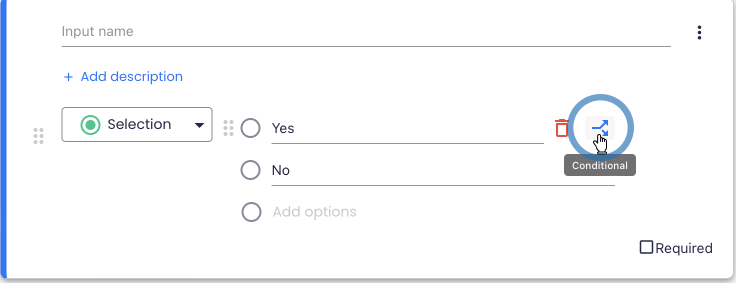
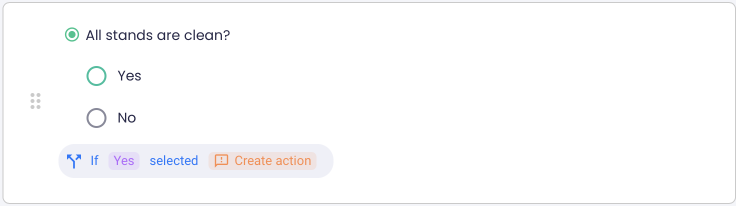
Conditional Resource: You can redirect to a new question, action, alert, fail the question, cancel or even finish the issue by defining conditional paths according to the option selected. To do this, click on the icon in front of the option you want to condition.
Then choose the condition you want to associate with that option.
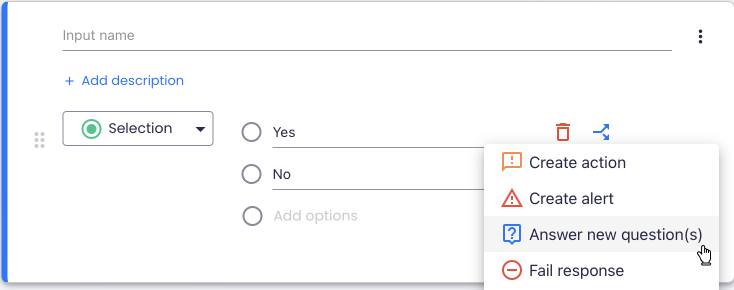
Then, the condition summary will appear under the question in the templates.
7. Date and time
The "date and time" option allows entering the date and time, or just the date or time. The field must be configured with a name and description (optional). As with other types of data entry fields, the three dots icon allows you to duplicate or delete the field.

Finally, the “Required” checkbox sets the field as mandatory.

8. Table
The "table" option allows the insertion of data in table format. It is possible to add the desired number of columns with the respective name. The option must be configured with a name and description (optional).
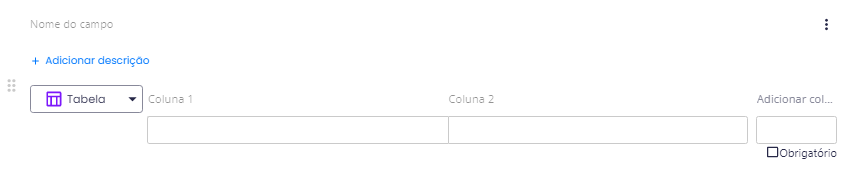
There is no advanced configuration for the selection field.
The three dots icon allows you to duplicate or delete the field.

Finally, the “Required” checkbox sets the field as mandatory.

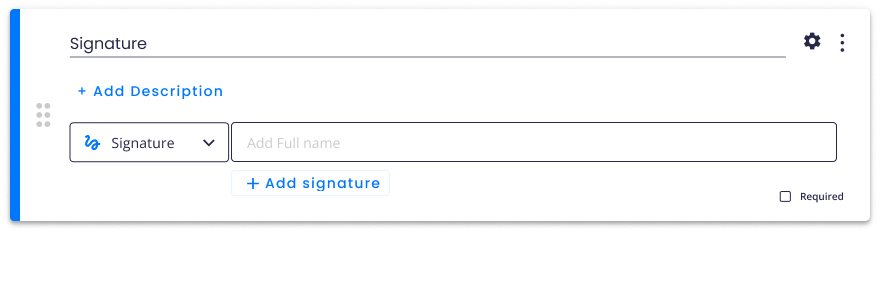
9. Signature
The "signature" option allows to enter the full name and also the signature of the person. To insert the signature, just click "Add signature".
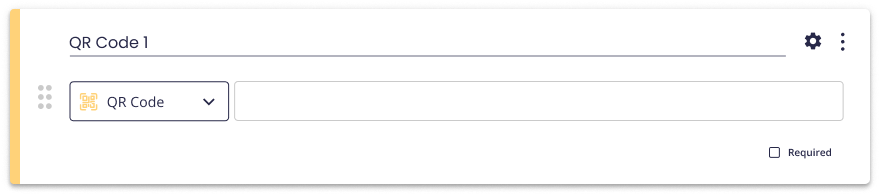
10. QR Code
The "QR Code" option allows you to read a QR code.
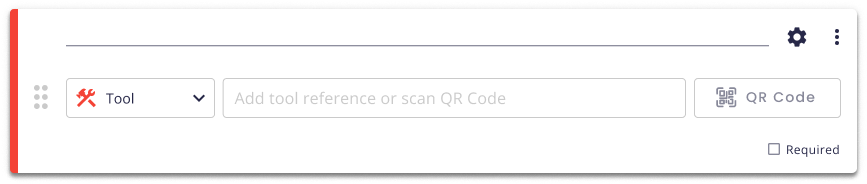
11. Tool
The "Tool" option helps users to choose which tools to use during issue execution.
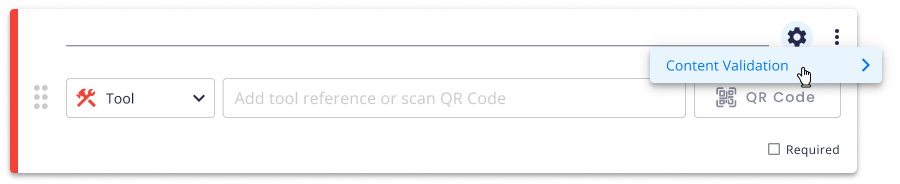
You can add validation parameters to the question by clicking on the "Settings" icon and then selecting the "Content Validation" option.
Then you can choose the parameter you want to specify.
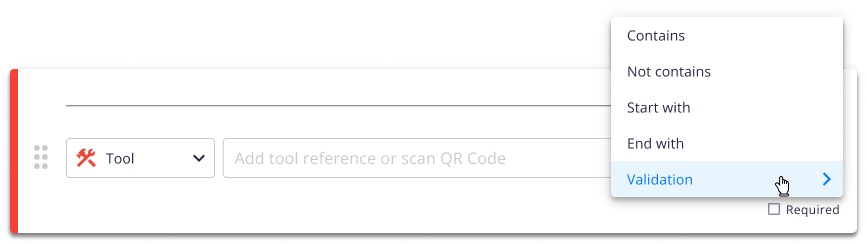
If you choose the option "Validation" you can choose between two types of validation, "Link with input" or "Specific Tool".
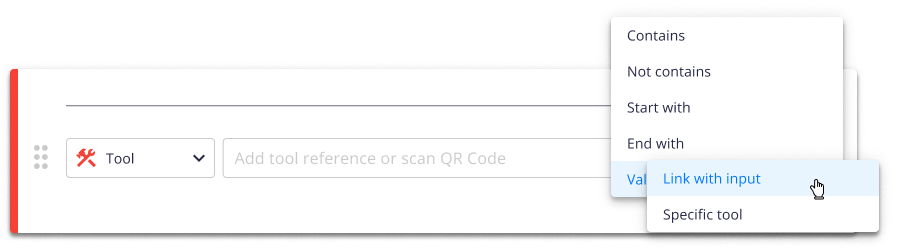
- Link with input: The question will be linked with other questions (selected by you). This way, when the user scans a tool item, it will validate if the tool's item is the same for both questions.
- Specific Tool: During execution, the user needs to scan a specific item from the tool list that appears. The list shown is the list of materials associated with the task.